







What 10 checks ensure a toddler backpack fits properly and distributes weight safely?
A poorly fitting backpack can leave a toddler leaning forwards, straining their shoulders, and tiring quickly. These ten practical checks help you assess the fit, adjust straps, and balance the load so the bag sits comfortably and the weight rests safely on their hips.
These are measurable checks you can do at home: measure torso length, compare the pack’s dimensions to your child, adjust the shoulder straps and sternum strap, fit the hip belt, inspect the back panel and strap anchors, test all closures and visibility, and perform a loaded wear test. Work through the steps to make quick, evidence-based adjustments that keep the pack close to the back, transfer most of the weight onto the hips, and prevent uneven pressure while you move. Signs of a good fit include a back panel that sits close without gaps, shoulder straps that lie flat without digging in, and a hip belt that carries the pack’s weight during movement.

1. Measure torso length accurately and allow room for growth
To measure a child’s torso for a school backpack, have them stand naturally wearing the clothes they would normally wear to school. Find the C7 vertebra at the base of the neck (it appears as the most prominent bone when the chin tilts forward), and locate the top of the iliac crest, the upper edge of the hip bone. Using a flexible measuring tape, follow the contour of the spine between those two points and record the length. Match that measurement to the backpack’s adjustable back panel or harness. Choose a pack whose adjustable range is about 10 to 15 per cent longer than the measured torso so you can lengthen the harness as the child grows without the pack becoming oversized. If the measurement falls between sizes, favour the longer setting so the pack will grow with them while still sitting comfortably.
After setting the harness to the measured length, test the fit by packing the bag with a typical day's load. Tighten the shoulder straps until the pack sits high and close to the back, then fasten the chest and hip straps so the weight sits securely. The top of the pack should rest just below the C7 vertebra, the bony bump at the base of the neck, and the bottom should sit above the iliac crest, the top of the hip bones. That positions the load between the shoulder blades and the top of the pelvis, shifting weight onto the hips and strong trunk muscles, and reducing forward torque on the lower back. Watch for signs that the fit needs changing: straps at their extreme settings, the pack riding below the hips, straps digging into the neck or shoulders, or the wearer changing posture or reporting discomfort. If you spot any of these, stop, adjust the straps, and reassess with the pack packed. If you cannot achieve a snug, non-digging fit, try a larger or smaller harness. When fitting a child, ask them to walk and move around so you can check comfort as they go.
Set backpack harness to measured torso; top just below C7.


2. Fit the backpack to your child's size and load
Building on the torso measurement, when fitting a child's rucksack, start by measuring the torso from the base of the neck, where the C7 vertebra protrudes, down to the top of the hips. Choose a back-panel length that keeps the pack between the shoulder blades and the lower back so it sits on the trunk rather than on the neck or the small of the back. Check that the pack body does not extend past the child's shoulders and that the shoulder straps sit on the fleshy part of the shoulder with enough room for the arms to move freely; this helps reduce chafing and prevents uneven load transfer. Match the pack width and strap placement to the child and to the typical load, and test the fit using the actual contents to confirm a snug, stable, comfortable fit.
Once the panel length and strap placement are set, comfort and balance start with how a rucksack is packed. Choose an internal layout and compartment arrangement that keeps heavy items close to the back, placing the heaviest objects nearest the spine and centred vertically. Aim to keep the packed weight to about 10 to 15 per cent of your child's body weight, and fasten the hip and chest straps so the load transfers to the torso and hips rather than hanging from the shoulders. Try a few simple movement checks: have your child walk, climb a step, bend forward, and squat while wearing the packed rucksack to spot tipping, excessive sway, or a need for overly tight straps. If the rucksack tips backwards, sways a lot, or only feels secure with very tight straps, reduce what you have packed or choose a smaller rucksack.
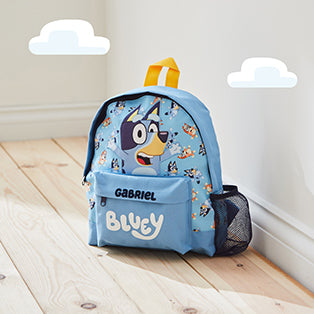
Adjustable straps and chest strap secure tiny shoulders for comfort


3. Keep the load within the manufacturer's recommended weight limit
Aim for a toddler's backpack to be about 10% of their body weight. To check this, weigh your child without the bag, then again with the loaded pack; the difference is the carried load. Use a short, repeatable checklist of essentials — for example, a nappy, spare clothes, a snack, and a drink — and remove anything not on the list before you leave. Rotate toys and other heavier items between outings instead of taking everything every day to cut unnecessary weight. These simple habits reduce strain, keep little ones more comfortable, and make it easier to maintain a consistent load as plans change.
Alongside limiting total weight, pack the heaviest items close to your child's back, centred between the shoulder blades, and place lighter items in outer pockets. Fasten and tighten the waist or chest strap so the pack's weight shifts onto the hips rather than the shoulders. Do quick comfort checks: if the straps dig in, your child leans forward, their walk changes, or they complain, remove some items and rebalance the load. Toddlers have proportionally shorter torsos and developing spines, so limit how long they wear a loaded pack and empty it frequently to reduce cumulative strain.
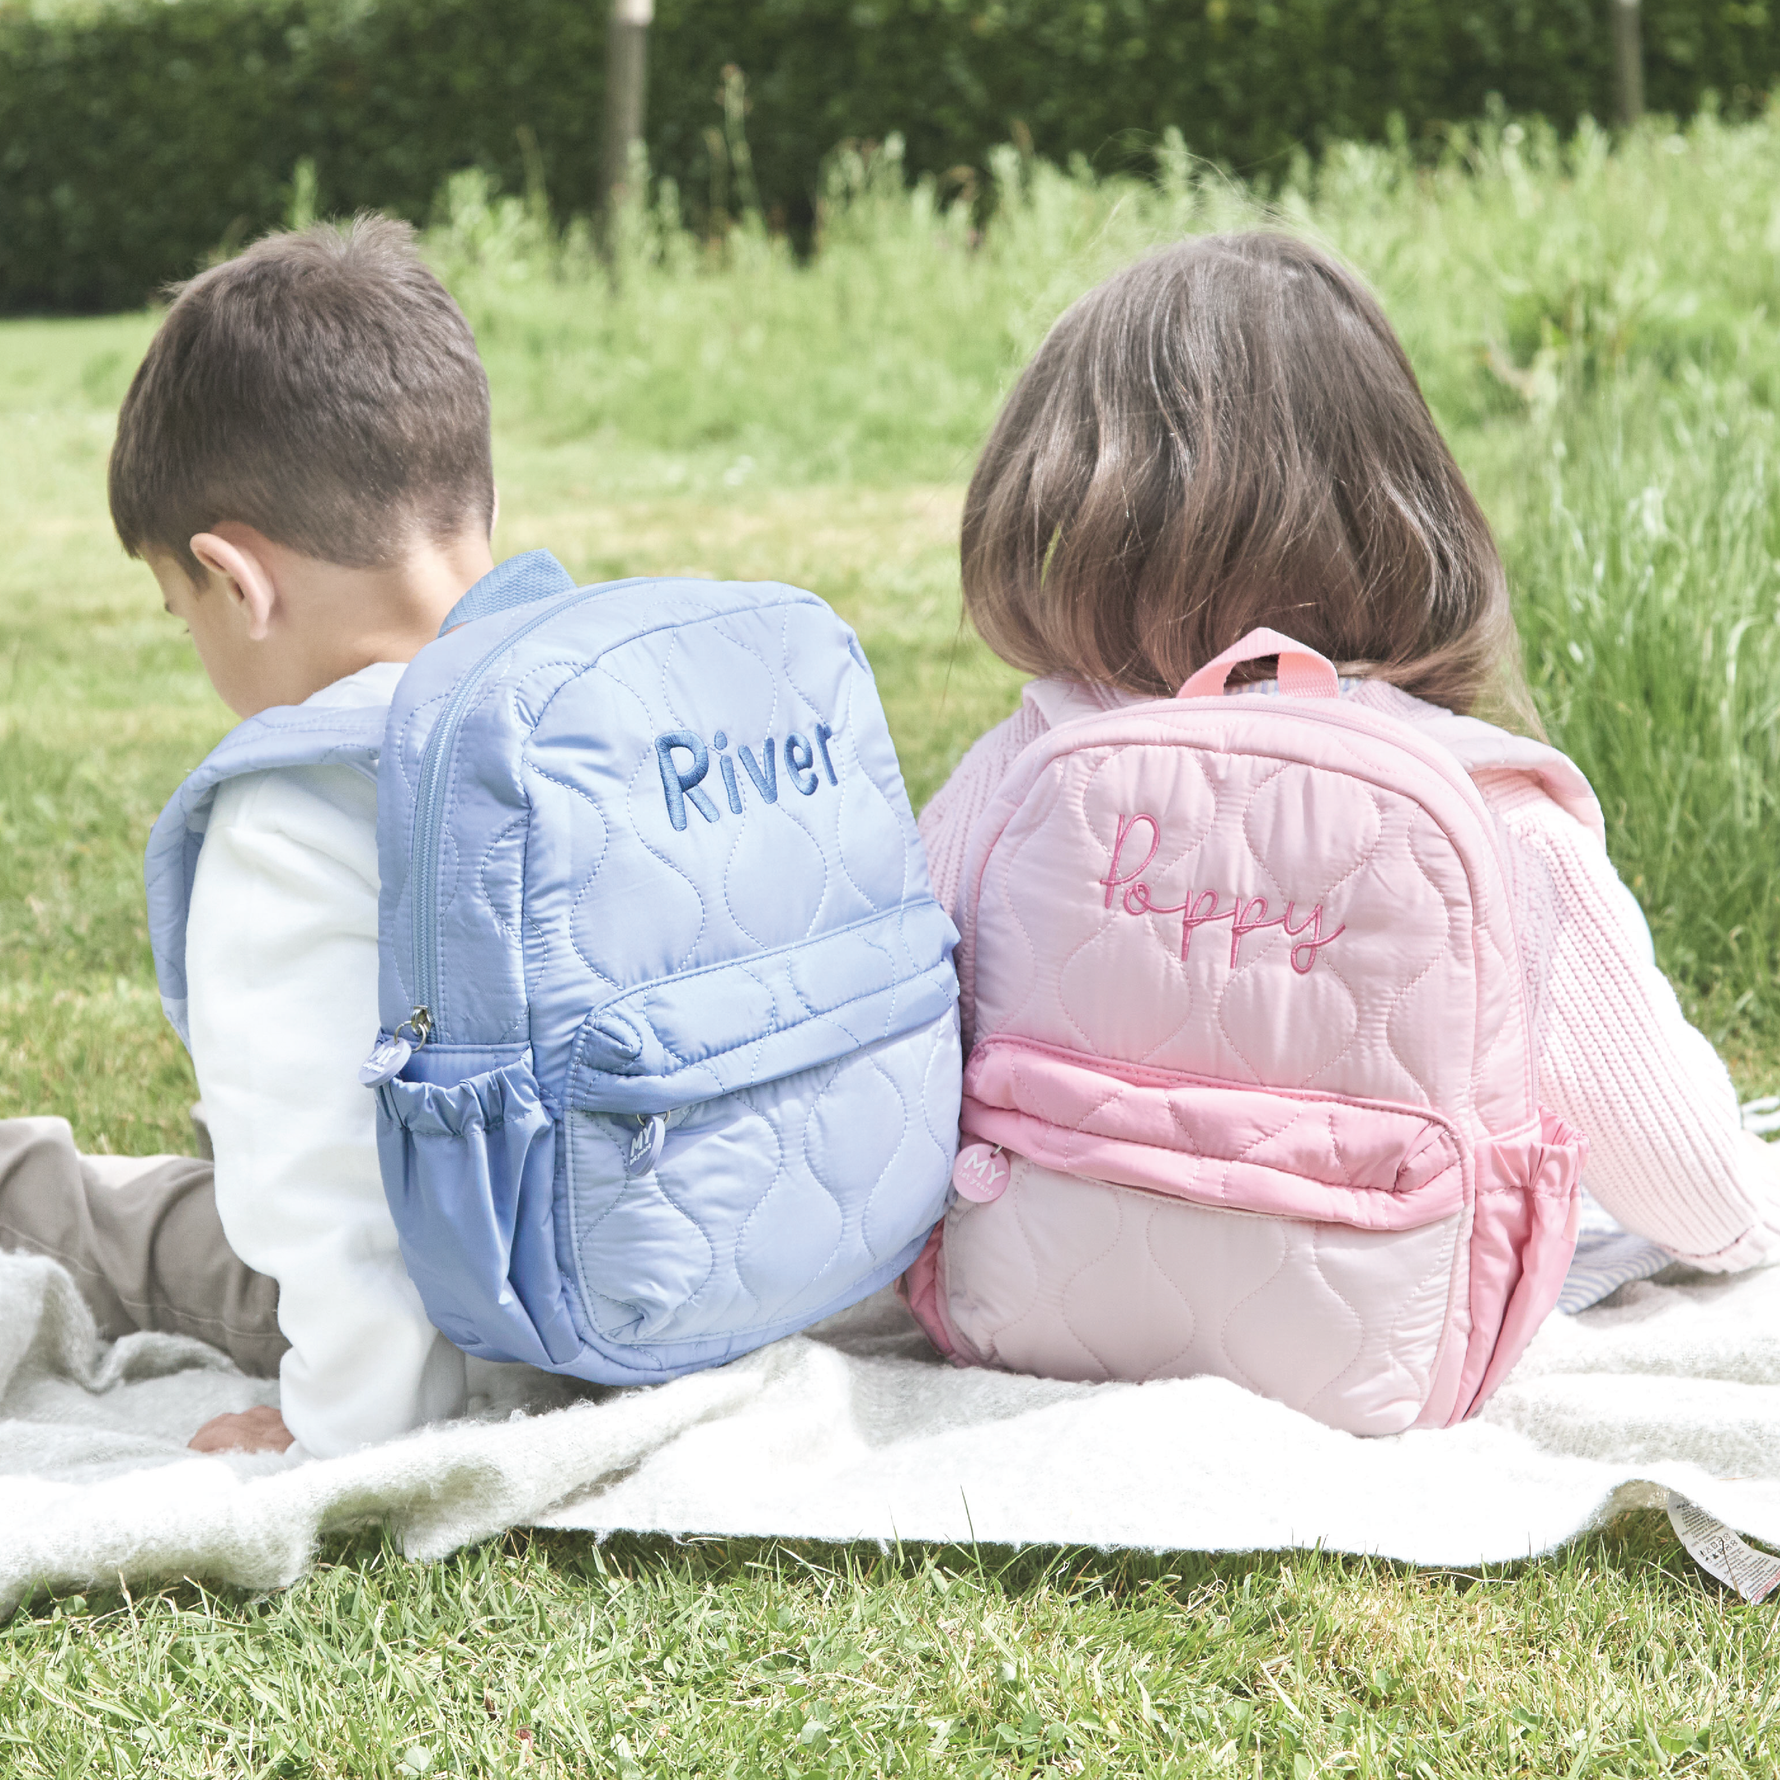
Choose a lightweight, chest-strapped bag; pack heaviest close to back.


4. Adjust padded shoulder straps to distribute weight evenly across your shoulders
Gently tighten each padded shoulder strap so the rucksack sits high on the back, with the top close to the base of the neck. You should still be able to slip two fingers between the strap and the collarbone so it does not press on the throat. Position the padded panels on the rounded part of the shoulder and slide a finger under the top of the strap to check it is not digging in; the padding should wrap onto the shoulder to spread the pressure. Stand behind the child or use a mirror to equalise the tension on both straps, then fine tune until the pack hangs level. A level pack helps prevent a tilted shoulder line or a compensatory lean.
After adjusting the shoulder straps, position the sternum strap at a comfortable height and tighten it just enough to draw the shoulder straps towards the centre of the chest for extra stability, without restricting breathing. With the toddler wearing the pack, observe them as they take a few steps, step up onto a low step, and bend forward while you watch for slipping straps, rubbing, or any red marks. If the straps pull outward, move heavier items closer to the back and into the central compartment, then shorten the straps slightly. Make small adjustments and repeat the movement checks until the pack sits level and the child moves without leaning to compensate.
Adjust padded shoulder straps and sternum for a level pack.


5. Position and tighten the sternum strap for a secure, comfortable fit
Position the sternum strap at the centre of the chest, level with the sternum rather than the throat or the belly. If your pack lets you, raise or lower the strap so it sits mid-chest when the shoulder straps are in their normal position. Pull the strap snug so it draws the shoulder straps gently inward to stabilise the load, but leave a breathing space of about two fingers' width beneath it so it does not compress the ribcage or restrict breathing. Clip the buckle so it lies flat against the chest, and check the strap crosses bone rather than soft tissue to avoid pressure points. If the buckle rubs or causes redness during movement, reroute the straps or add padding to relieve the area.
After positioning and tightening the sternum strap, ask the child to walk, climb a few steps, and bend forward while you watch from the side and behind. The chest (sternum) strap should stop the pack from swaying and keep the shoulder straps sitting on the shoulders, without making the child lean forwards unnaturally. Show the child how to release the clip quickly, and practise this with them so they can do it confidently if needed. Check the strap and buckle regularly for fraying, loose stitching, or other signs of wear, and repair or replace any damaged parts so the fastening remains secure but easy to release.


6. Fit the hip belt to transfer weight onto your hips
Place the hip belt across the top of your child’s hip bones, not their waist, and fasten it so you can just slide two fingers between the belt and their body. Lift the shoulder straps slightly; if the carrier’s weight shifts onto your hips, the belt is doing its job. If the weight stays on your shoulders, readjust the belt and retest. Make sure the padded cups sit over the top of the hip bones (the iliac crest) without digging into the abdomen or sides, and that any webbing runs parallel to the ground so pressure spreads evenly across the pelvis.
Then try a quick check at home: ask your child to move around, climb a couple of low steps, then lean forward while you look for signs of a poor fit, such as shoulder strain, the rucksack riding up, or pinching around the shoulders. A well-fitting hip belt should stabilise the load and stop the rucksack from pulling the child backwards or pitching them forwards. Pack so the heaviest items sit close to the back and centred over the hips, since weight that sits away from the pelvis increases torque on the shoulders even with a snug belt. Retighten the belt whenever your child wears a bulky coat, and recheck the fit regularly as they grow, because small changes in torso shape or clothing thickness can move the belt off the pelvis and reduce its ability to transfer weight safely.


7. Check the back panel shape for fit and breathability
For little explorers, comfort starts with the back panel. Choose a contoured panel that follows your child’s shorter torso and natural spinal curve. When worn, it should sit between the shoulder blades and the top of the hips so the load spreads across the back, rather than pressing on the lower lumbar area. Test the fit with your child wearing a typical load, fasten any chest strap, and check the panel stays flush without pinching; if the pack pulls away from the back, that indicates poor contact or inadequate support. Assess the padding by feeling the panel under a light load: a firm central section with softer edges keeps the shape and spreads weight, while padding that compresses easily will concentrate pressure on a few contact points.
Also, look for ventilation features such as raised foam channels, breathable mesh, and spaced ribs that create an airflow gap between the panel and the skin. That airflow helps reduce sweat build-up and lowers the risk of skin irritation during active play. Check the panel height and width by having your toddler stand, bend, reach, and twist: the panel should sit within the shoulder line and stop above the hip bones. If the panel rubs or slides when they move, it either fits the wrong size or sits in the wrong place. A stable, well-shaped back panel with layered padding will spread the load, keep the child comfortable, and let air circulate while they wear it.
Contoured support and layered padding echo ergonomic back-panel advice.


8. Check strap anchors to ensure weight is evenly distributed
Begin by finding where the shoulder, chest, and waist straps join the backpack. Note whether they feed into internal webbing, a reinforced back panel, or finish at a single seam, because webbing or panel anchors spread the load, while single seams concentrate force. Inspect the stitching at each anchor for box-and-X patterns, bar tacks, or multiple rows of stitching. Give each strap a firm tug and watch for seam gaps, loose threads, or fabric distortion; these are clear signs the attachment is weak. Do a simple load test: pack the bag with a typical load, lift it by the shoulder straps and by the top handle, and observe whether anchors pull, shift, or deform the back panel under realistic use. Any visible separation during this test indicates the anchors may not distribute weight reliably and could fail with continued use.
Also, take a close look at the hardware and webbing where the straps meet the pack. Check for cracked plastic, corroded metal, or twisted and frayed webbing, and make sure the adjusters let you tension the straps smoothly so both share the load evenly. Watch for hardware that rotates or slips, as that concentrates stress at a single point and accelerates wear. Finally, compare left and right anchor placement and, where you can, trace the webbing back to its attachment. If anchors are asymmetric or the webbing finishes at a single seam, the pack can lean, place uneven pressure on your toddler, and cause premature failure of the attachment point.
Check anchors, stitching, webbing, and reflective strap detailing


9. Test closures, quick-release mechanisms, and visibility features
Test every closure the way a toddler will: let them open zips, press buckles, and try magnetic clasps so you can confirm pull-tabs and grips suit small fingers and that tactile cues make fastening intuitive. With the child wearing the pack, ask them to bend, reach, and turn to check that sternum and waist buckles stay secure during movement, yet can still be released by the child without excessive force. Run your fingertips along seams, zip teeth, strap ends, and attachment points to find any exposed edges, loose webbing, or long straps that might catch on playground equipment.
In addition to testing closures, check visibility systems: fluorescent panels improve daytime conspicuity, while retroreflective tape returns light to drivers at night. Make sure any reflective elements face rearward and are not hidden by coats or layers. Check zips and other fastenings several times to confirm they move smoothly, and inspect hook-and-loop fastenings for a secure grip without excessive shedding. Test quick-release mechanisms by exposing them to grit, water, and normal wear to see how performance changes. Operate magnetic and snap closures repeatedly, watching for stiffness or misalignment that could catch skin or clothing. Note any long straps or loose ends and either shorten or secure them to reduce the risk of entanglement.
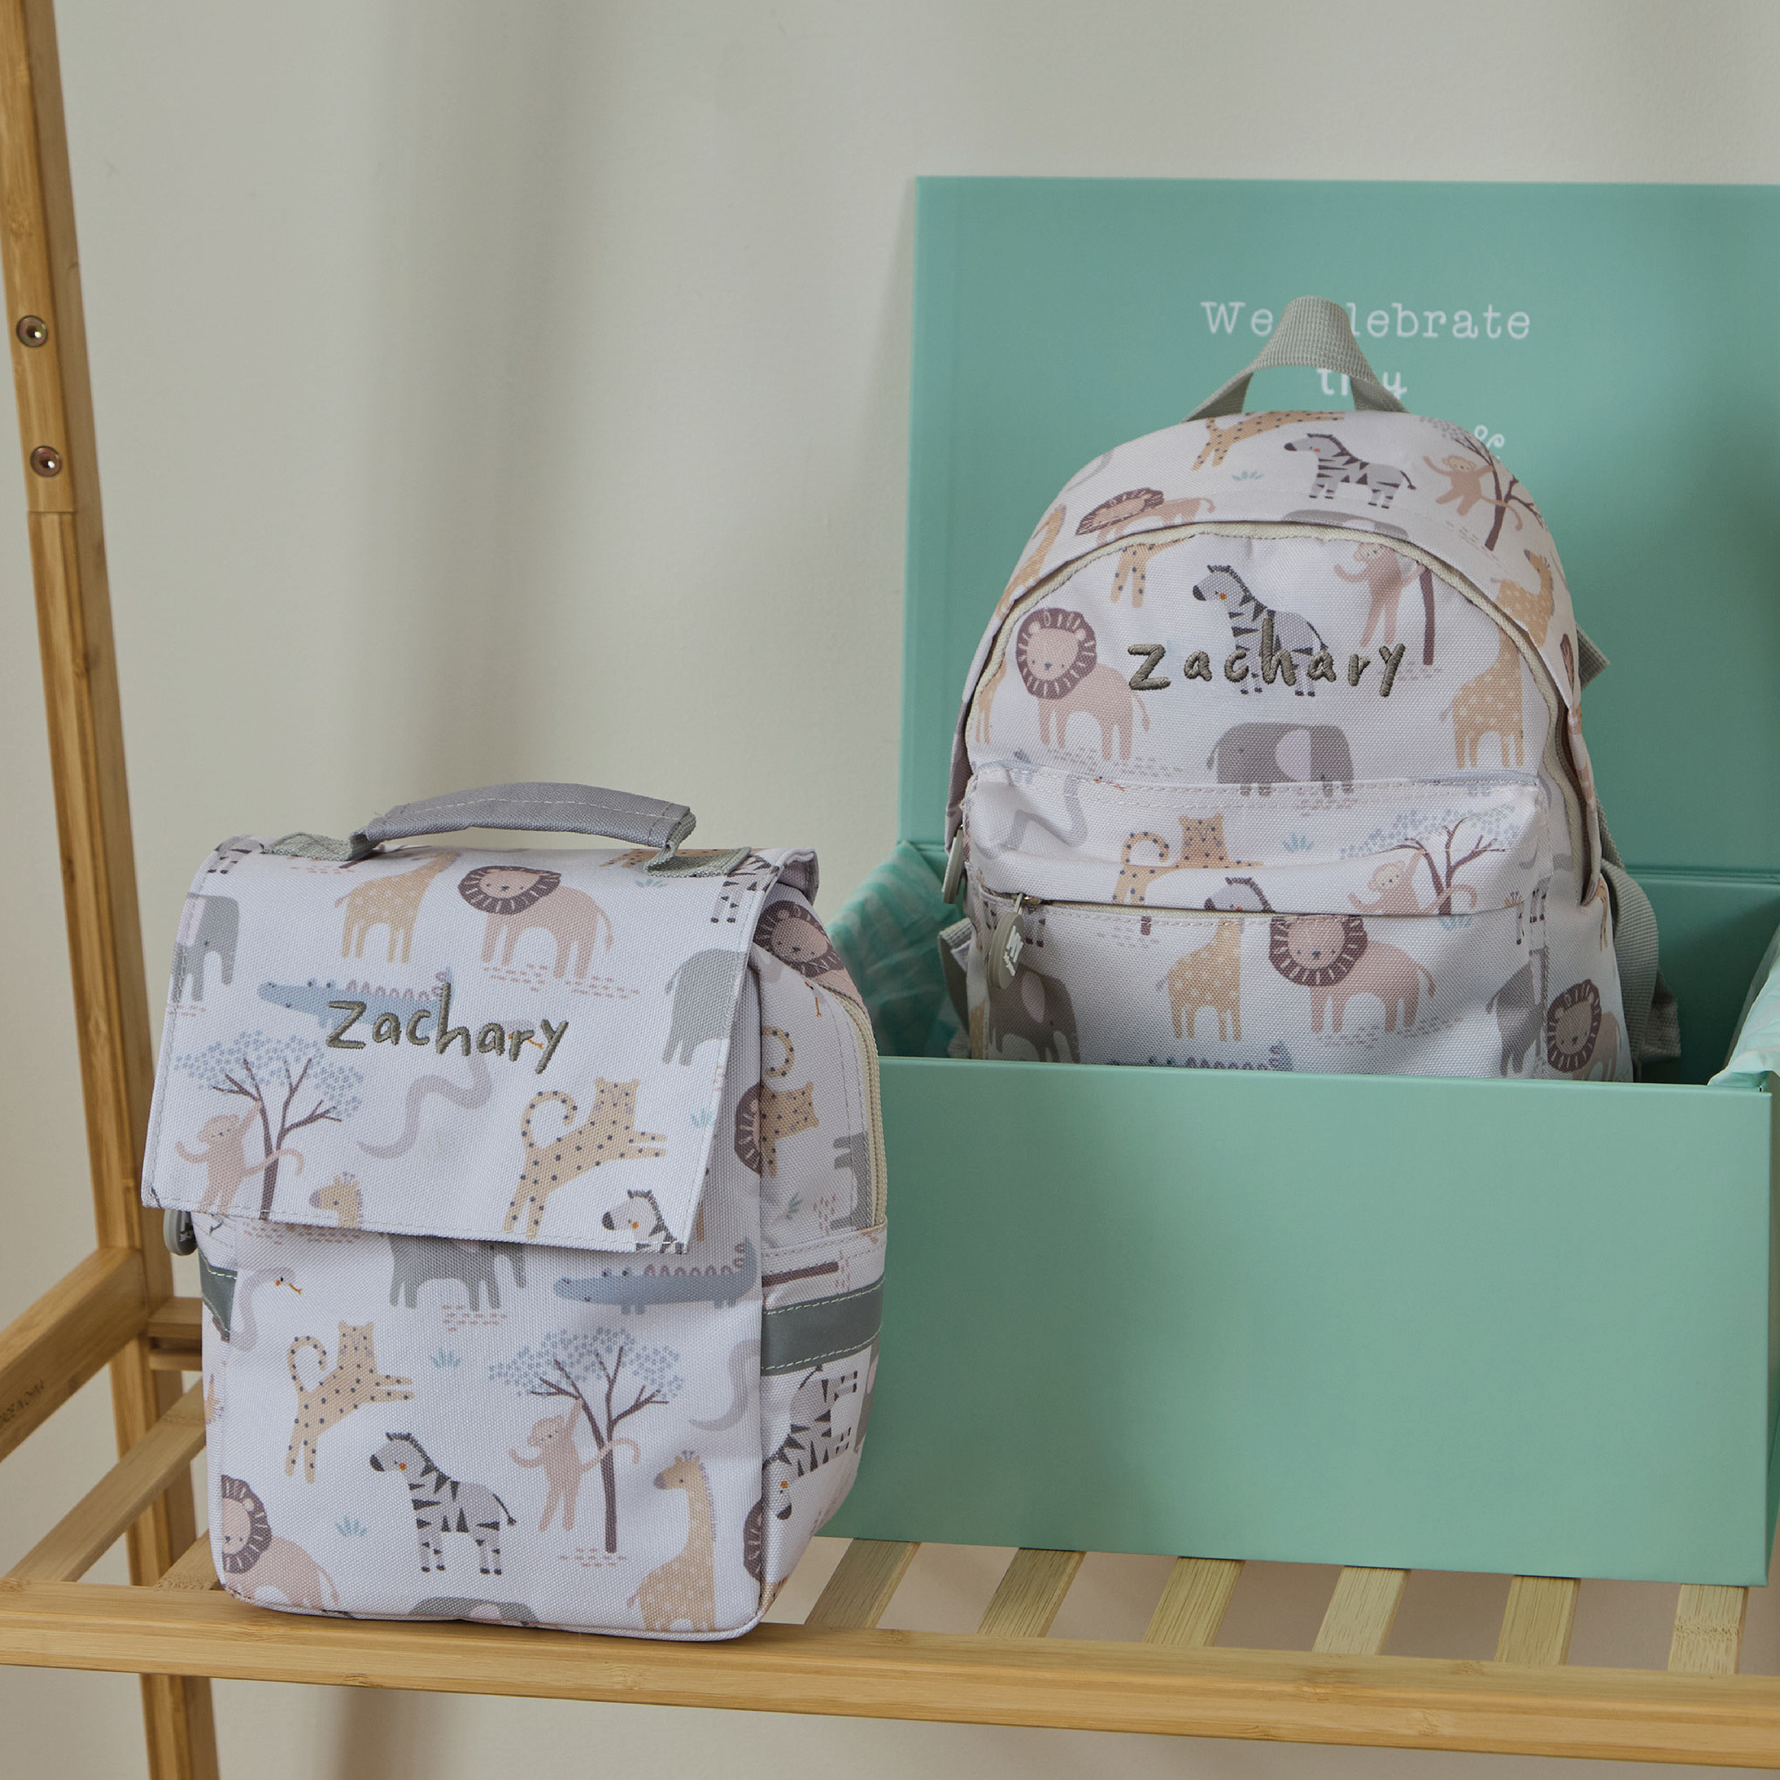
Check zips, straps and grab handle for secure, snag-free wear.


10. Carry out a loaded wear test to check fit, movement, and comfort
Start by loading the pack with the items your toddler normally carries, then add small amounts of weight. Watch how the pack sits: it should stay close to the upper back and move as a single unit when your child walks, runs, bends, or climbs. If the pack sways or tilts, that usually means there is too much weight or the straps are too loose. Adjust the shoulder straps so they sit comfortably on the shoulders without digging in, leaving about two fingers of space, and make sure both straps sit at the same height to prevent the pack pulling to one side. Fasten the chest strap, and position the hip belt across the top of the pelvis so it transfers load away from the shoulders and brings the centre of gravity closer to the spine.
To catch fit issues you might miss in real time, ask someone to film your little one from the side and from behind while they move as they normally would. Review the footage for subtle fit issues you might miss in real time, such as forward leaning, raised shoulders, or uneven strap tension. While they are wearing the carrier, watch for immediate signs of discomfort, including red marks, skin indentations, rubbing, or verbal complaints. If you spot any problems, reduce the load or adjust the straps, then repeat the loaded wear test until movement is steady and your child shows no signs of discomfort.
A correctly fitted toddler backpack sits high on the upper back and shifts weight to the hips, helping to reduce forward lean and shoulder strain. Ten practical checks, including measuring torso length, adjusting shoulder and sternum straps, observing recommended load limits, and doing simple movement tests, show how to achieve a snug, balanced fit that protects posture and keeps your child comfortable.
To put these checks into practice, when buying or adjusting a pack, follow the step-by-step headings and test every feature while your child wears a loaded bag. Carry out these simple, repeatable checks regularly so the pack stays safe, well fitted, and comfortable as they grow.
Share


